
HOW TO FIT A ROLLER BLIND INSIDE A RECESS
Fitting a roller blind inside a window recess is straightforward once the brackets are correctly positioned and securely fixed.
This guide takes you through the process step by step, from positioning the brackets through to fitting the blind and checking everything operates correctly.
Every installation can be slightly different depending on the window, the recess and the surface you're fixing into, so take your time and make sure you're using suitable fixings for your particular installation.
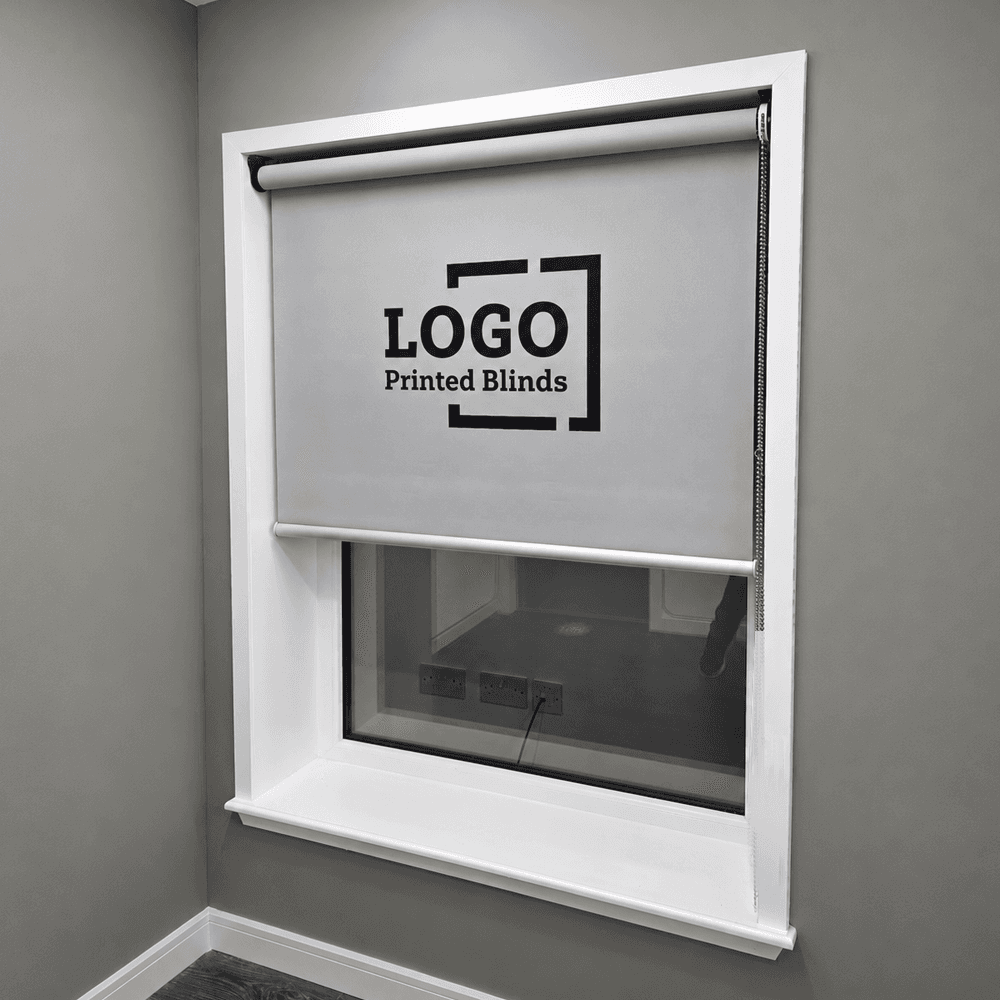
BEFORE YOU START
Before you start, check the window recess and identify the surface you'll be fixing the brackets into. This could be timber, plasterboard, brick, concrete or another material, and the correct drill bit and fixings will depend on the surface.
Offer the blind up to the window and think about where it needs to sit. Make sure there is enough clearance for the blind to operate without catching the window, handles or anything else within the recess.
POSITION & MARK THE BRACKETS
Start by deciding where the roller blind will sit within the window recess.
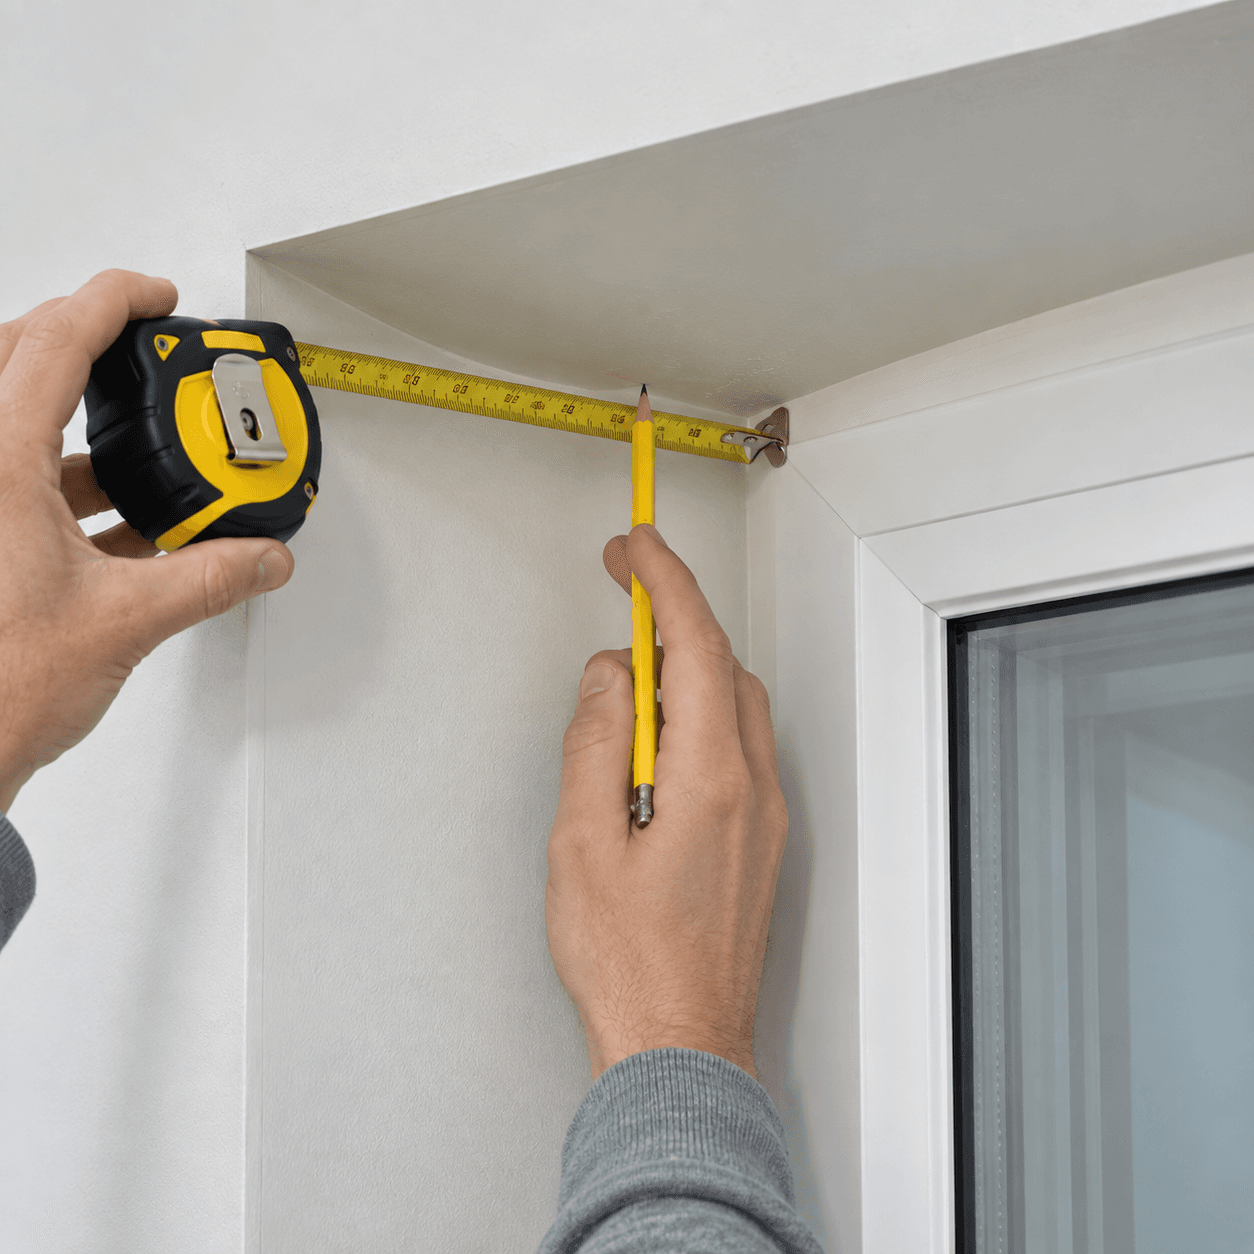
Position the brackets at either end of the recess, making sure they're correctly aligned and that the blind will have enough clearance to operate freely.
The brackets should be positioned at least 75mm from the back of the recess.
Hold each bracket firmly in position and use a pencil to mark the fixing holes. Check the position of both brackets before drilling — getting this part right will make fitting the blind much easier.
DRILL & FIX THE BRACKETS
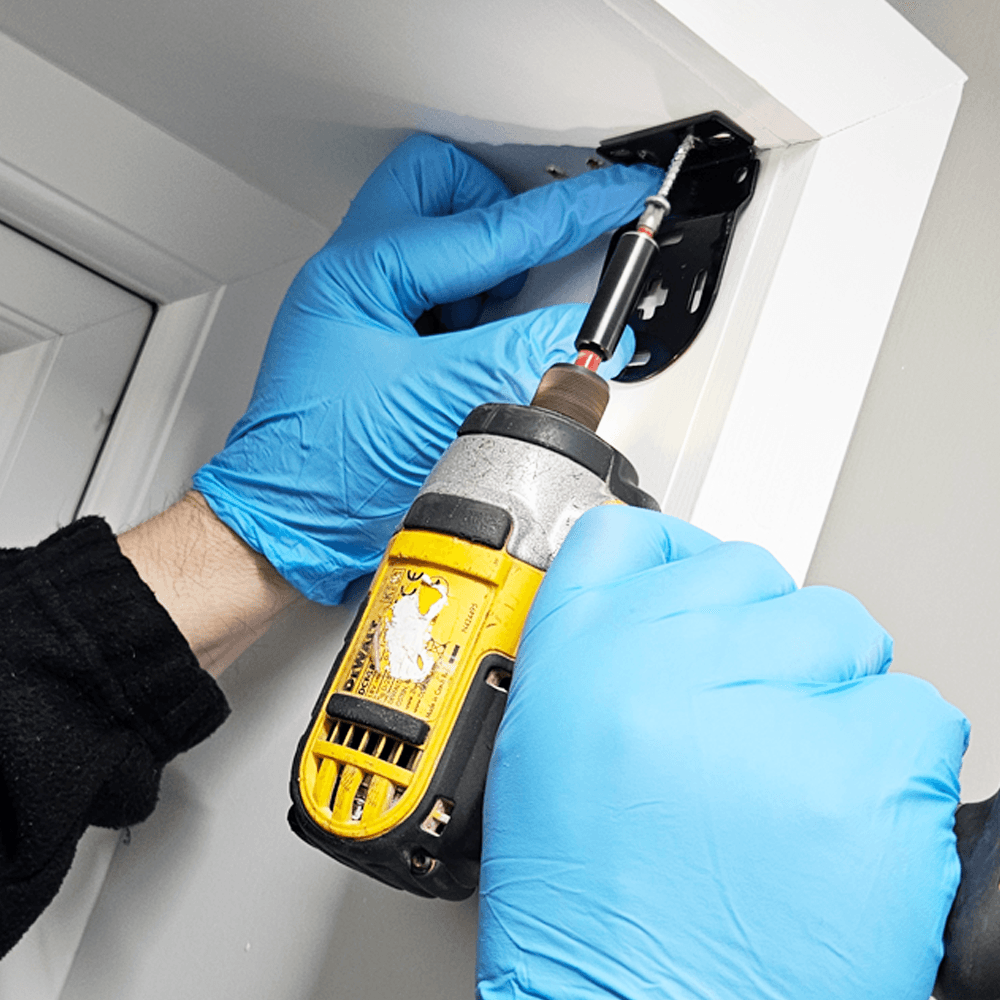
Drill the marked fixing holes using a drill bit suitable for the surface you're drilling into, then use the appropriate fixings to securely attach each bracket.
The type of fixing required will depend on the installation. Fixing into timber is very different from fixing into plasterboard, brick or concrete, so don't assume the same screws and plugs will be suitable for every window.
Once fitted, check that both brackets are secure and correctly aligned before fitting the blind.
Not sure which fixings you need? If in doubt, check what's behind the surface before drilling or ask someone familiar with the type of wall you're working with.
FIT THE ROLLER BLIND
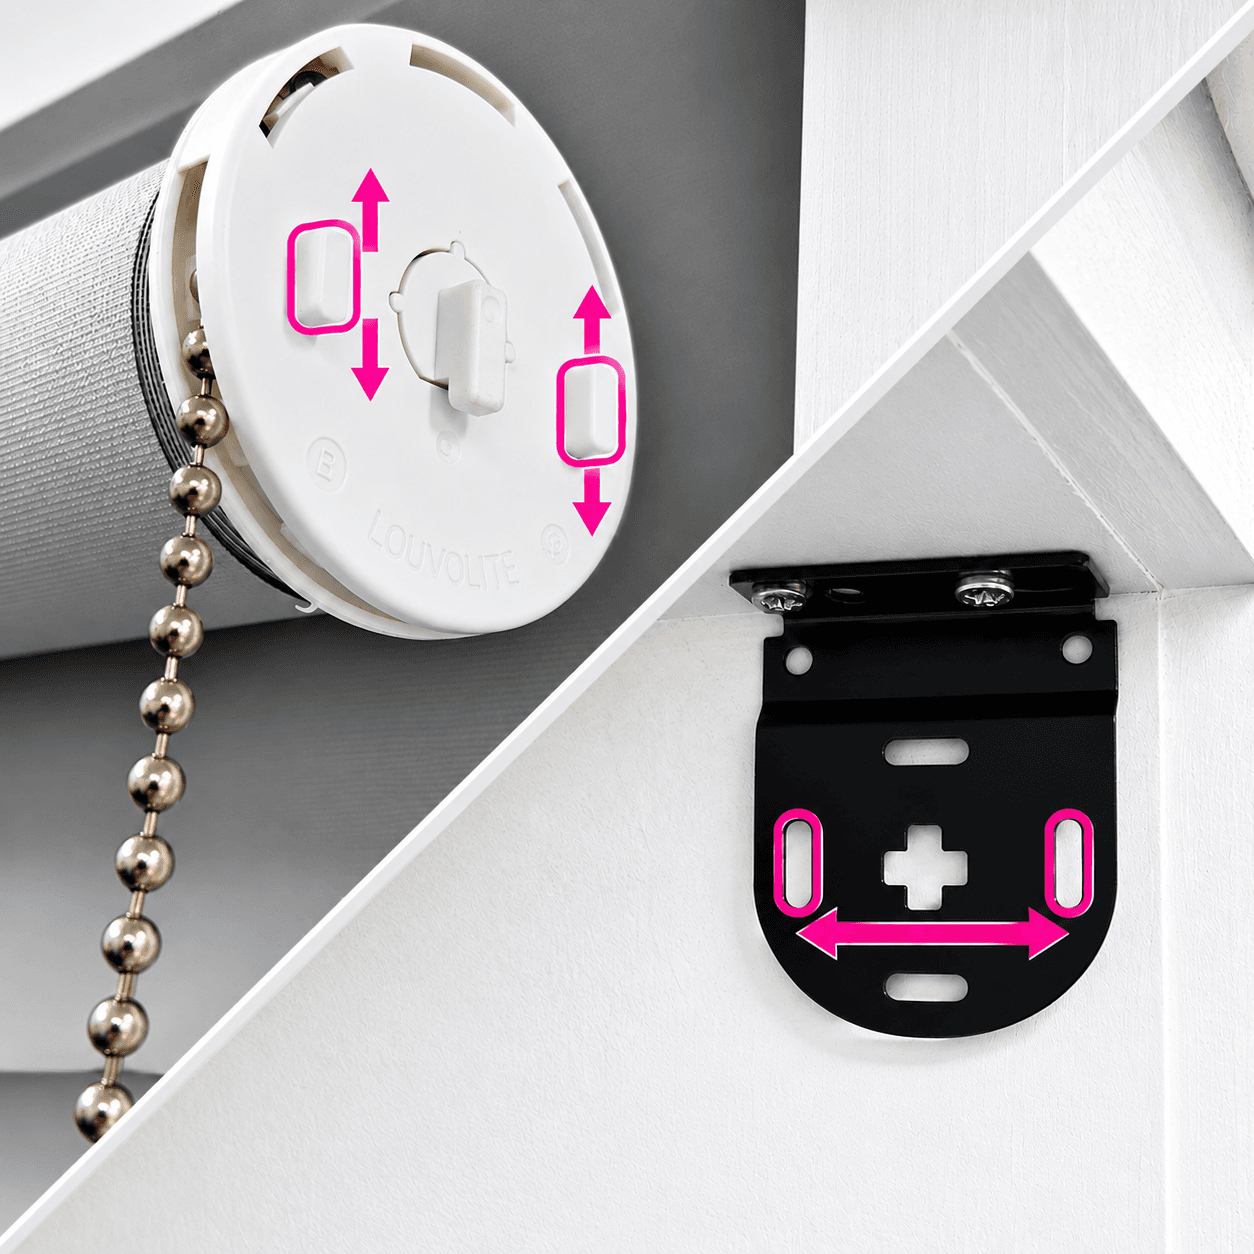
Once both brackets are securely fitted, the roller blind can be put into position.
Each end of the roller fits into its corresponding bracket. Carefully locate the blind into the brackets and make sure both ends are properly seated and secure before letting go.
The blind should fit into place without excessive force. If something doesn't look or feel right, don't force it. Check the bracket positions and make sure you're fitting each end of the roller into the correct bracket.
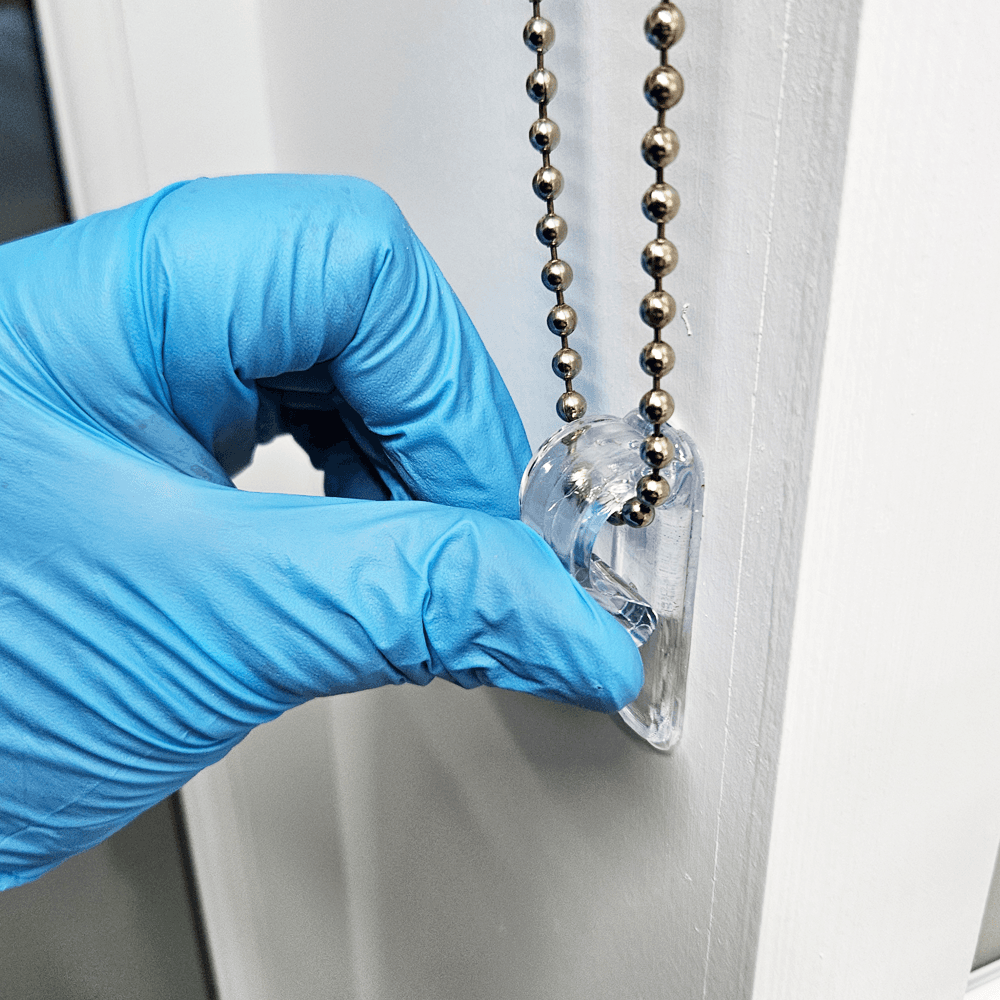
FIT THE CHAIN SAFETY DEVICE
With the blind in position, check that the chain hangs correctly and operates freely without twisting or catching.
Fit the supplied chain safety device securely to the appropriate surface, positioning it so the chain is kept tidy and correctly tensioned while still allowing the blind to operate smoothly.
Raise and lower the blind to check the position before completing the installation.
The supplied chain safety device should always be fitted.
CHECK YOUR BLIND
Finally, slowly raise and lower the blind several times.
Check that it rolls smoothly, hangs straight and clears the window, handles and surrounding recess. Make sure both brackets remain secure and the chain moves freely through the safety device.
If everything is secure and operating smoothly, your roller blind is ready to use.
NEED A HAND?
If you're unsure, just give us a call.
Every window is different, so if you're unsure about the bracket position, fitting your blind or anything else along the way, call us on 0141 336 5566.
We'd much rather talk you through it than have you guessing.
Ready to put your brand in the window?
Get an instant estimate in minutes. We'll check your measurements and provide a free visual before manufacturing.